

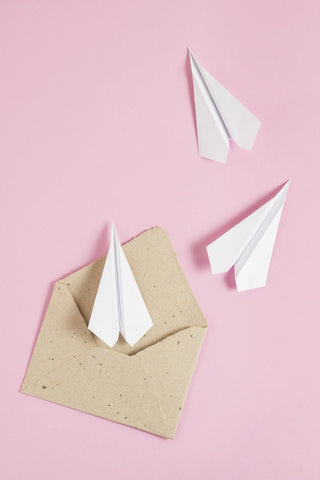
Many of you probably did many creative things in your childhood to kill boredom. One of these ideas was probably making paper airplanes. We all remember how they floated around the classroom or in the school corridors during break.
They may not have always been perfect, but they brought a lot of joy and could improve everyone's mood.
Folding various shapes out of paper yourself is an effective way to develop both manual and mental skills. Creating paper airplanes is great fun not only for children, but also for adults.
In today's article you will learn how to make a paper airplane that will stay in the air for a long time. We will pay attention to important factors such as the type of paper and folding technique. We invite you to read!
How will paper work to make an airplane?
The first step in the process of making a paper airplane is choosing the right type of paper. Plain copy paper or printer paper with a grammage of approximately 80-100 g/m2 will work perfectly. If you want your plane to look unique, use colored paper. Remember that the paper should be rectangular and not too thin, so that the plane can keep its shape and take off in the air without any problems.
How to make a paper airplane? Step by step instructions
We have prepared detailed instructions for making a paper airplane . We hope that we will inspire you to have creative fun!
Step 1. Needed supplies
Before you start folding the paper, make sure you have all the necessary supplies. Below we present some tools that will surely be useful to you:
- Photocopier paper . If you are wondering where to buy such paper, click here !
- Something sharp to cut the paper (e.g. scissors or a pocket knife)
- Pencil for marking and marking lines
- Cutting pad (so as not to damage the surface of the table or desk)
- Make sure your work area is well-lit and spacious so you can assemble the plane freely.
Step 2. Plane pattern
It is worth choosing the paper airplane pattern you would like to make at the very beginning. There are many different designs. You can try to make the plane in the shape of an arrow or a delta. Choose one that suits your preferences and that will not cause too much difficulty when assembling.
Step 3. Assembling the plane
 If you have all the supplies at hand and you have chosen the right pattern, it's time to fold a paper airplane .
- Place the paper on a flat surface in landscape orientation.
- Fold the paper in half along the long side so that the top edge covers the bottom edge. Make sure the lines are even and precisely folded.
- Open the folded paper and fold the bottom edge inward until it touches the fold line. Remember to keep the lines even.
- Fold the paper again along the previous fold lines, folding the bottom edge towards the center.
- Now fold both folds together along the center fold line, forming a triangle. This will be the front part of your plane.
- Fold the long edge of the front of the plane up to form the shape of a wing. It is important that you always remember to keep the bends even.
- Open the plane's wings by spreading them sideways. This will be the main part of the paper airplane wings.
- Bend the wingtips upwards to create the shape of vertical rudders.
- Fold the bottom of the plane along the bottom edge, creating the shape of the fuselage.
- Turn the plane over and bend the wings along the fold lines on the top panel, creating a wing shape with a slight lift angle.
- Reinforce the creases on the wings and rudders by dragging your fingernail along the crease line to make them sharp and precise.
- Using a sharp knife or scissors, trim the ends of the wings into a rounded shape.
- You can also add details such as windows, colors or other decorations to give your plane a unique style and character.
And that's it! Now you can fly your paper airplane into the sky!
Test and customize your paper airplane!
Your paper airplane is now ready! So it's time to test it and perhaps make any corrections.
To test its capabilities, find a suitable space, e.g. outdoors or in a large room. Throw your paper airplane into the air at least a few times and observe its trajectory. Watch how long it stays in the air.
Don't worry if you're not satisfied with your flight results. You can always customize your plane. Just trim the wings, tail or sides more.
Paper airplane as a creative experiment
There is no denying that making paper airplanes is a great opportunity to create creative experiments. You can involve everyone in your household and certainly no one will be bored!
As for the process itself, you can change patterns, wing shapes, add decorations or paint the planes in your favorite colors. You can create a completely personalized design! Let your imagination run wild!